An Easy Dremel Shelf DIY Project For The Dremel Router To Stabilize A Flimsy Shelf
Photo By Mark Hinkle
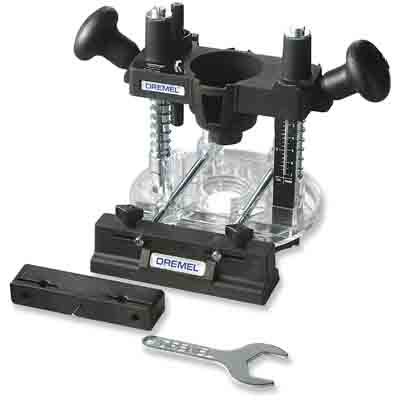
The Dremel shelf DIY shown here is a very small project that can show you the effectiveness of the 678-01 Circle Cutter and Straight Edge Guide that came with my 2/30 Dremel 4000 kit and the 335-01 Plunge Router attachment.
For me, this is just the kind of project that makes the Dremel a must have around the house. Its small size and light weight make it easy to store out of the way in its included carrying case, and also makes the set up and actual use very easy. With a Dremel, a shelf diy is a perfect place to start using your new tool.
So here’s the scene…
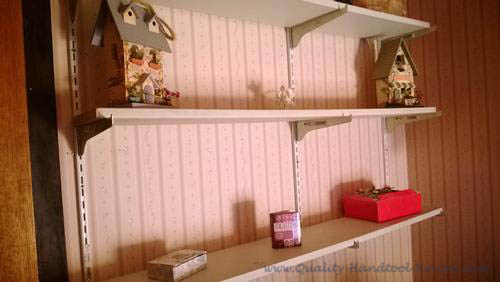
When visiting my parents this summer, I stayed in an upstairs guest room that has three shelves right beside the door. These shelves are the kind where you have the “dog leg” style supports that hook to a track screwed to the wall where you just rest the shelving boards on them. Quick. Cheap. Easy. With only one problem…
One of the dog legs was just perfectly shoulder height to hook on my shirt as I walk out the door. Bam. Crash. Boom. Everything came tumbling down on the floor breaking Christmas ornaments and scattering things all over the room. Cats running, dogs barking. Sheer pandemonium.
Good thing mom loves me.
The simple solution
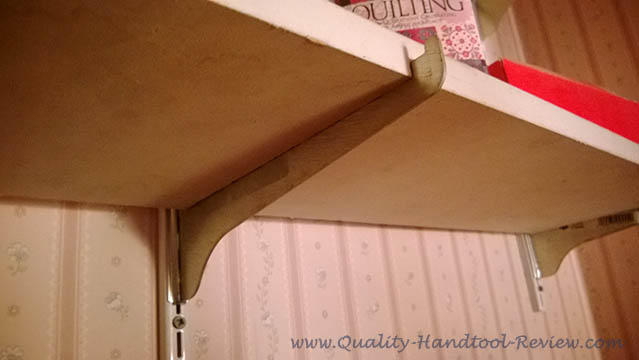
Three shallow grooves routered into the bottom of the shelf would allow the dog leg to nest into the shelf (mortise and tenon style) to keep the shelf from sliding back and forth on the supports and to keep everything from wobbling around. Here we go…
- First, with my trusty DeWalt 35ft. Tape Measure, I measured the overall length of the shelf (approximately 48”)
- Then I measured from the center line of the left wall bracket to the center line of the right wall bracket (approximately 47”)
- Splitting the difference of 1” gives me a measurement of ½” from either end of the shelf to make my outside grooves
- Since the brackets were already mounted on the wall and not evenly spaced, I measured from the center line of the left one to the center line of the middle one and then from the center of the middle one again to the center line of the right one just to double check. That gave me my measurements of the center groove to transfer to the bottom of the shelf and with that and I chose a ¼” depth, I’m ready to start grooving
jump-straight-to-the-project
Safety, Safety, Safety!
Always Use At Least Safety Glasses Whenever Using A cutting Tool.
And With The High Speed Of The Dremel Comes High Noise Levels, Ear Plugs Are A Good Idea As Well.
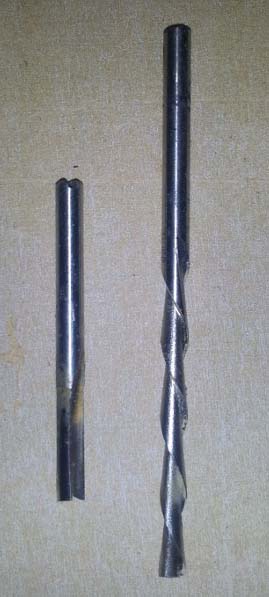
The Bit That I Chose
|
Photo By Mark Hinkle |
Starting out, either I used the wrong bit, or as I explained here just a poor quality one, but the first bit I used (the Dremel 652 straight router bit on the left) didn’t do the trick. It just wanted to heat up and didn’t cut much. The second one (the Dremel 561 multipurpose cutting bit on the right) worked fine. It was pretty squirrely and wanted to wander, but going slow and focusing on control got the job done. I should also point out that the material being routered is just standard particle board and fairly soft. When using the Dremel tool, pay close attention to the type of material and take multiple paths, each at deeper depths if you have to. Tip!Make Your Work Easier And More Enjoyable. Use The Right Tools, Use The Right Bits. |
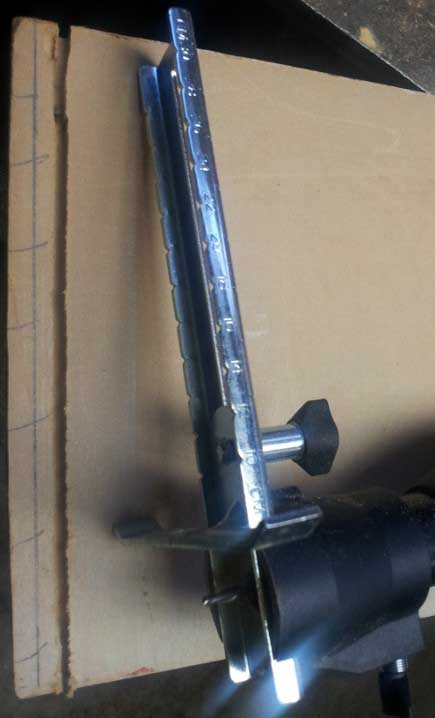
Dremel 678 Straight Edge Guide
Photo By Mark Hinkle
Some things to point out in this picture...
- Always measure at least twice. I started out just making my measurements all equal from each other but then realized that they need to match the previously mounted wall rails. And I always mark my mistakes out with the same kind of slash marks. Your eye will start to always see them as mistakes and you’ll never get mixed up with any other marks on the material.
- The groove that you make will only be as straight as the edge that the edge guide is riding on. You can see it’s a bit uneven and it transferred directly the groove.
- Bolstered by the stability of the Dremel 678 Straight Edge Guide, I started to get in a bit of a hurry and was pushing the bit along towards the bottom. You can tell by how ragged it made the cut edges. Just go nice and slow. Always let the tool do the work.
Dremel 335-01 Router Attachment
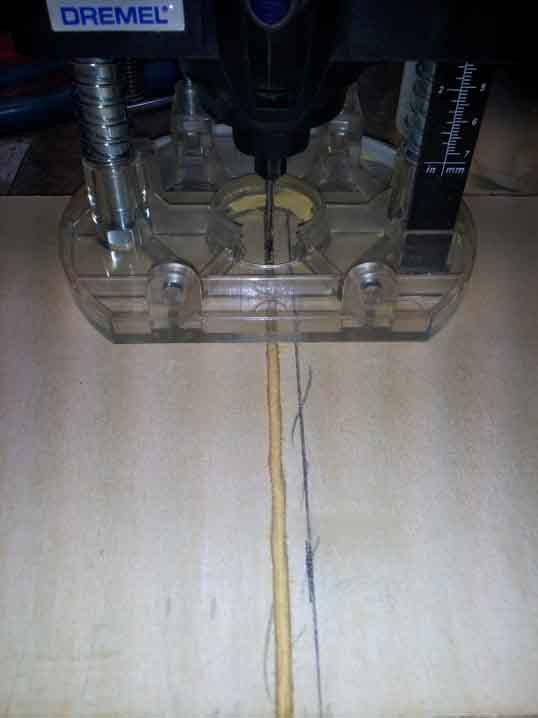 Photo By Mark Hinkle |
Here we can see…
|
Conclusion
After the grooves are completed, just rest the shelf on the supports and adjust them until they all rest securely in the grooves.
Dremel Shelf DIY Finished
Photo by Mark Hinkle
I hope this quick Dremel shelf diy has shown you how easy it is for a versatile tool like the Dremel 4000 to do all those little jobs around the house.
-Did this Shelf DIY Help In Any Way? Give Us A Like!-
Check Out These Other Dremel Related Tools
Dremel is a registered trademark of the Robert Bosch Tool Corporation.
What Have You Done With Your Dremel?
Have you created, fixed or modified anything with your Dremel Tool? Tell us! Show us!
Thank you for commenting on our page!
If you find anything useful on Quality-Handtool-Review.com, it sure would help out if you put a link in your blog, article, Facebook comment, etc.
Thank You!
Return To Top Of Dremel Shelf DIY
Quick Links
Comments?
While we try to give you everything you need to make the right choice in investing in a tool, we may have missed the exact question you have.
